
Last updated November 15, 2026
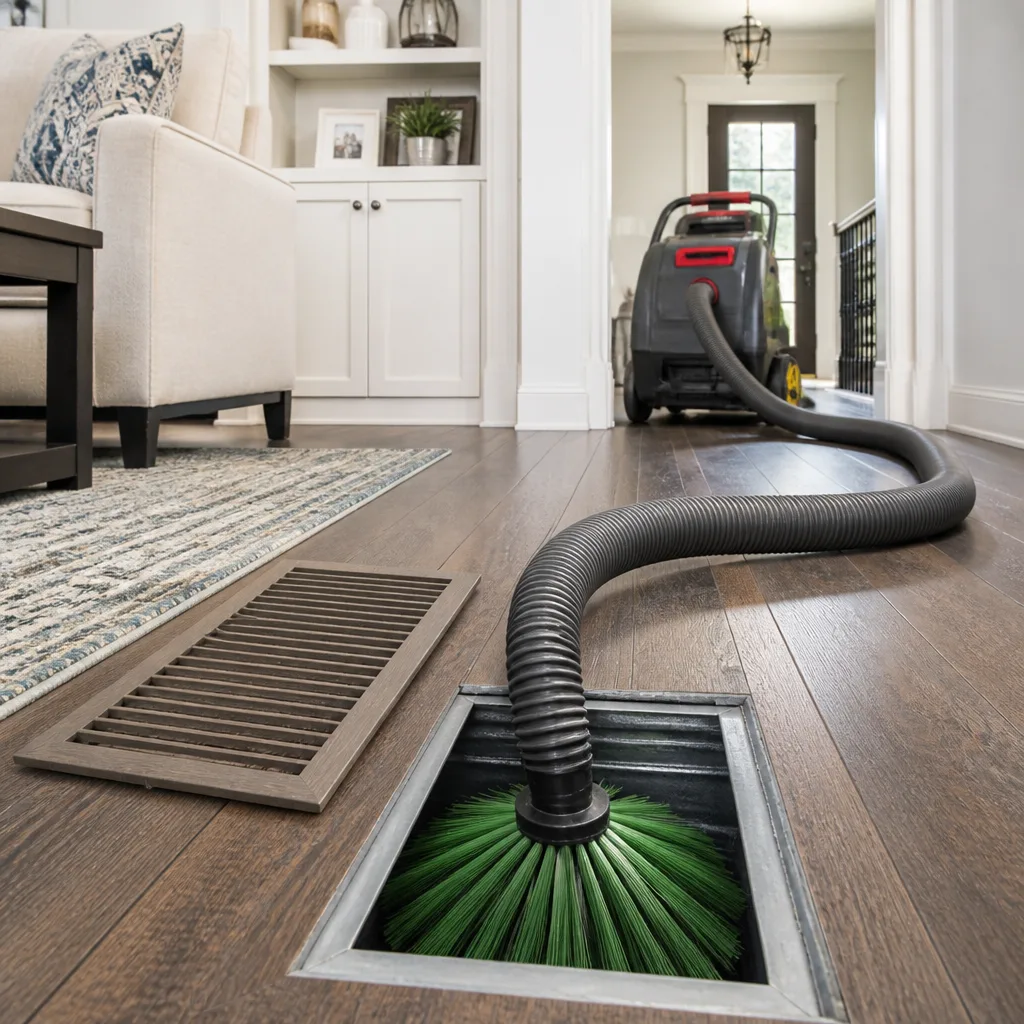 Whole-home duct cleaning
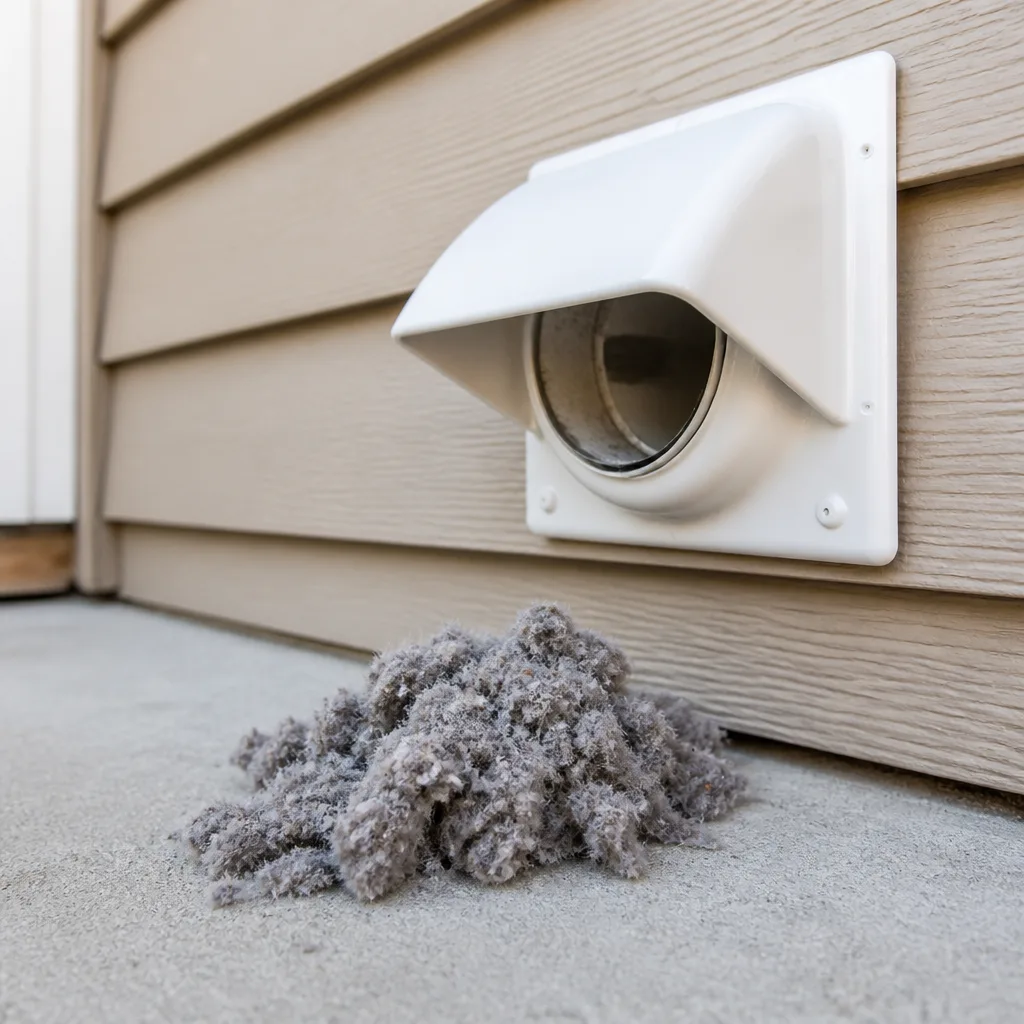 Dryer vent cleaning
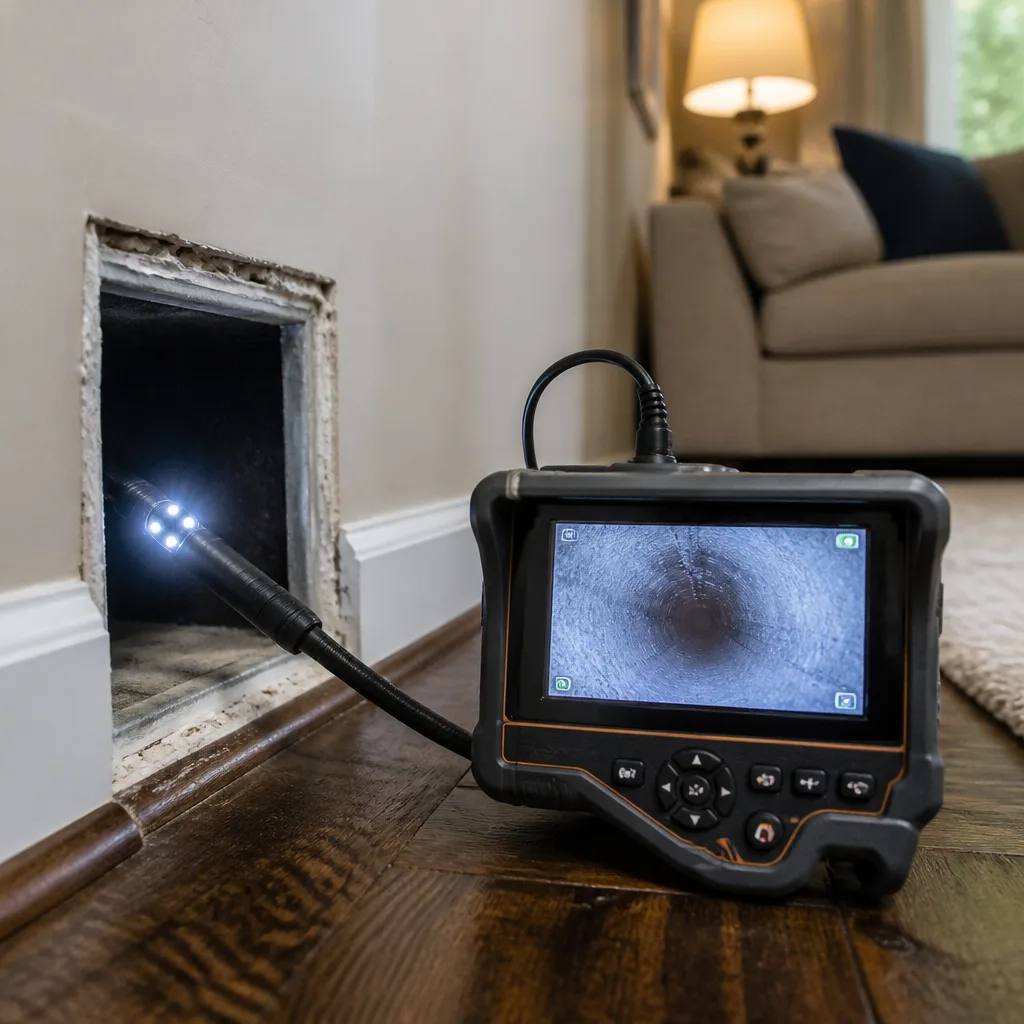 Camera inspection
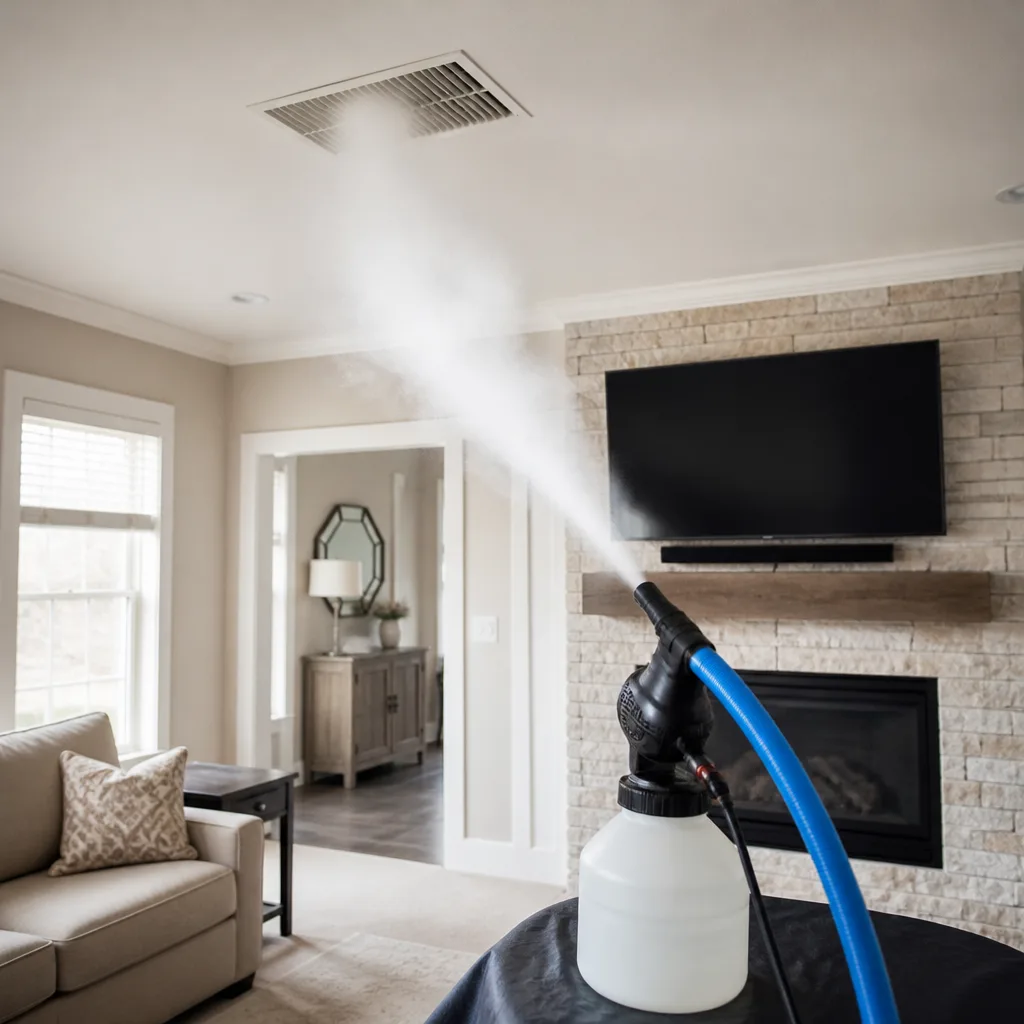 Sanitizing & deodorizing
Whole-system duct and dryer vent check with before-and-after photos - you see exactly what came out of your vents
That "$99 whole-house special" is a bait ad - the real number appears once they are in your hallway, or the "clean" is a shop-vac at the register. We photograph the inside of your ducts before and after instead.
Air Duct Cleaning Maintenance Checklist for Edmond Homeowners
Changing a MERV-13 filter on schedule while ignoring a disconnected return duct behind a wall is like rotating the tires on a car with a cracked frame. You’re maintaining the wrong thing, and the system keeps degrading while you feel productive. Most duct advice floating around Edmond is a calendar: change the filter, book a cleaning, repeat. That rhythm ignores how ducts actually fail. Filters are the easy part. Duct integrity, pressure balance, and debris loading are where systems quietly lose efficiency for years before anyone notices. This guide gives you a maintenance checklist built around system state, not the calendar, with the interval that actually applies to each category and the Edmond conditions that change the timing.
Quick Answer
A working air duct maintenance routine in Edmond has three separate tracks with three different intervals: filter changes every 1-3 months depending on filter rating and household conditions, a visual duct integrity check twice a year plus after any renovation, and professional extraction cleaning every 3-5 years for most homes or sooner after renovation, storm damage, or visible debris at the registers. Treating all three as one job is the most common mistake we see. Each track addresses a different failure mode, and skipping one quietly undermines the other two.
Styles & brands we work with
- Whole-home duct cleaning
- Dryer vent cleaning
- Camera inspection
- Sanitizing & deodorizing
Table of Contents
- Why Most Duct Cleaning Checklists Fail
- The Three-Track System: Filter, Integrity, Extraction
- The Return-Air Visual Check You Can Do Without Tools
- Static Pressure: Reading Your System’s Restriction Without a Gauge
- Edmond-Specific Triggers That Reset Your Timeline
- What to Document Between Professional Cleanings
- Dryer Vent Cleaning: the Fourth Checklist Item Most Homeowners Skip
- What Professional Equipment Should Actually Be Doing
Why Most Duct Cleaning Checklists Fail
Most checklists circulating for homeowners treat the duct system as one component that either “needs cleaning” or doesn’t. That framing is convenient for coupon mailers and useless for actual system health. A duct system is closer to a network: supply trunks, branch runs, return chases, boots at the registers, and connections at every joint. Each piece degrades on its own clock through a different mechanism. Filters load with particulate. Joints fail and pull apart, especially at flex duct collars and behind drywall. Sheet metal seams separate with thermal cycling. Debris accumulates gradually in the low-velocity runs where air barely moves.
That last point matters more than most people realize. Debris doesn’t deposit evenly. It settles in the runs with the slowest airflow, which are usually the branch lines serving bedrooms and the far end of a long trunk. Those runs are also the ones nobody checks because the air still feels like it’s coming out. It is. It’s just coming out at lower volume with more particulate riding along.
In our experience working throughout Edmond, the checklists that actually help homeowners separate what they can monitor themselves from what needs a technician. Filter changes, visual checks, and simple observations are things you can own. Mechanical dislodging, HEPA capture, and duct repair are not. Our technicians have up to 13 years of experience, and the single most consistent finding is that homeowners are usually maintaining one of the three tracks and neglecting the other two.
The Three-Track System: Filter, Integrity, Extraction
Break the checklist into three categories and the whole routine becomes manageable. Each track has its own interval, its own warning signs, and its own threshold for professional involvement.
Track 1: Filter Maintenance
Filter changes are the routine you control, and the interval depends on the filter’s MERV rating and your household conditions.
- MERV 8-11 filters: replace every 2-3 months in a typical Edmond home, sooner during cedar and elm pollen season.
- MERV 13 filters: replace every 1-3 months. Higher filtration means faster loading, not slower.
- Households with pets or allergy sufferers: bias toward the shorter end of every range.
- During or after renovation: replace immediately after work concludes, then again 30 days later.
- During high-pollen months (roughly late winter through spring in central Oklahoma): check monthly rather than replacing blindly.
One note on filter upgrades: a higher-MERV filter restricts airflow more than a basic one, which matters on systems not designed for it. If you upgrade filters and the system starts running longer or a room gets stuffy, the filter change is likely the cause. We install and service Aprilaire filtration equipment, and the sizing matters as much as the rating.
Track 2: Duct Integrity Checks
Visual inspections catch the failures filters can’t. Check the accessible duct runs in your attic, garage, and basement twice a year and immediately after any renovation. Look for disconnected flex duct at collars, separated sheet metal seams, crushed sections, and duct tape peeling at joints. A disconnected return duct in an unconditioned attic can pull in outdoor air, attic insulation fibers, and dust all season. You’ll run a filter with a clean appearance while the system pulls air from the wrong place.
Track 3: Professional Extraction Cleaning
Full extraction cleaning isn’t a monthly or annual item. For most single-family homes in Edmond, a proper professional cleaning runs on a 3-5 year cycle. Reset the clock sooner if any of the triggers in the Edmond-specific section below applies. This is also the point where a professional can identify and repair compromised ductwork rather than clean a broken system and leave it broken. We repair what we find, which is the only honest way to clean a duct system that has failed joints.
The Return-Air Visual Check You Can Do Without Tools
You don’t need a pressure gauge or a borescope to get real information about your duct system. A careful visual pass at your return-air registers tells you a surprising amount, especially if you check the same registers each time so you can compare.
- Remove the return grille at one or two accessible registers. Most are held by friction clips or two screws.
- Look at the filter surface facing the living space. Note the color and uniformity of any buildup.
- Look past the filter into the return chase. A flashlight is fine. Note visible debris, insulation fibers, or a dusty film on the interior walls.
- Check the register frame and surrounding drywall for discoloration patterns. Compare to a supply register nearby.
- Run the system for two minutes and listen at the return. A soft whistle or gurgling sound points to restriction or a loose connection.
- Photograph the interior of the return chase with your phone. Date and save it. This becomes your baseline for the next check.
Discoloration patterns tell a story. A dark, even halo of dust at the grille edges usually means the return is pulling air through gaps around the frame rather than through the filter. A dusty film concentrated on one side of the chase often points to a leak on that side pulling in attic or wall cavity air. Brownish staining near the ceiling in a humid summer month can indicate condensation at a cold duct surface, which is a different problem altogether. None of these patterns require a professional to read; they require you to look, photograph, and compare over time.
This check takes about ten minutes per register and tells you more about your system’s actual state than another filter change will. Pair it with the professional air duct cleaning schedule once every few years and you’ll have a complete picture.
Static Pressure: Reading Your System’s Restriction Without a Gauge
Static pressure is the resistance the blower works against to move air through your ducts. When ducts are partially restricted by debris, crushed runs, or a clogged coil, static pressure rises, airflow drops, and the whole system runs less efficiently. You can’t measure static pressure without a manometer, but you can recognize its symptoms. When the symptoms pile up, restricted ducting is a likely cause.
Observations that point to elevated static pressure:
- Longer runtimes for the same setting. If the system used to satisfy the thermostat in 15 minutes and now takes 25, something changed in the airflow.
- Uneven room comfort. Rooms at the end of the longest duct runs staying warmer in summer or cooler in winter usually means restricted flow downstream.
- A louder-than-normal blower. A blower working against restriction sounds harsher or more strained.
- Visible dust settling faster than usual. Higher static pressure can push particulate through seals and gaps that would otherwise stay quiet.
- Condensate or moisture on flex duct surfaces in the attic, which points to reduced flow and low surface temperature.
None of these is conclusive on its own. Together, they justify a professional inspection. A technician can measure static pressure at the supply and return and identify whether the restriction sits in the ducts, the coil, or the filter itself. Most restriction we find in Edmond homes traces back to accumulated debris in the branch runs, crushed flex sections, or disconnected returns pulling unfiltered air. Cleaning with professional-grade equipment orchestrates the removal of that restriction, which often restores airflow without any other change to the system.
Edmond-Specific Triggers That Reset Your Timeline
Central Oklahoma asks more of duct systems than most regions. Our weather swings hard and fast, our spring pollen load is heavy, and our storm season is real. The generic 3-5 year cleaning cycle assumes a mild climate with stable conditions. Edmond homeowners should apply specific triggers that reset the clock.
Post-Storm Debris Infiltration
After any significant wind event or hail storm in Edmond, check the attic duct runs for displaced insulation, debris, and disconnected flex collars. Wind-driven debris can enter through soffit vents and settle around attic ductwork. Any visible debris around duct runs, any collapsed or compressed flex section, or any loss of attic insulation around ducts justifies a professional inspection and cleaning rather than a filter change.
Spring Cedar and Elm Pollen Loading
Central Oklahoma’s cedar and elm pollen season loads the return side of the system fast. During peak pollen weeks, check the filter every two weeks rather than every two months. If you keep the system running with windows open during spring afternoons, expect the filter to load considerably faster than the label suggests. Switching to Aprilaire filtration equipment sized properly for the system during allergy season gives the filter more capacity without restricting flow, which is a meaningful difference during those weeks.
Post-Renovation Particulate
Drywall dust, sawdust, and fiberglass from a renovation settle into duct runs and coat every filter and coil surface. Any renovation involving drywall, insulation work, or woodwork justifies a full professional cleaning once work concludes, regardless of when the last cleaning happened. Change the filter immediately, then again at the 30-day mark. If the renovation exposed any duct runs, take the opportunity to have them inspected for damage before the walls close up.
Heating Season Cycles
Oklahoma’s heating season cycles duct systems between unconditioned attic air and conditioned air daily, stressing joints and creating condensation. Fall is the natural time to inspect accessible runs and check for separated seams before the stress cycle begins.
What to Document Between Professional Cleanings
A contractor arriving at your home with no prior information starts from zero. A contractor arriving with your documented observations can assess system condition accurately and focus attention where the history points. Documentation is also the single most effective defense against the low-bid-then-upsell pattern the industry is known for.
Keep a simple maintenance log for your Edmond home. Nothing fancy; a notes file or a paper folder works.
- Filter change dates and filter model. Include the MERV rating and the date installed. Note anything unusual about the old filter’s appearance.
- Photographs of every return-air register taken at each check, labeled with the date. Interior views of the chase are just as valuable as exterior views.
- Any observed static pressure symptoms with dates: longer runtimes, uneven rooms, louder blower, condensation on ducts.
- Renovation dates and scope for any work that generated dust or opened walls.
- Storm dates for significant wind events, with a notation of any attic inspection you performed afterward.
- Professional cleaning dates and the equipment used. Note whether the technician used mechanical agitation and HEPA extraction or just air pressure.
- Repairs performed to duct joints, boots, or collars.
Two details are worth documenting in every entry. First, the system’s behavior during normal HVAC operation, since the pattern matters more than any single observation. Second, whether the filter was installed with the airflow arrow facing the correct direction, which is where we find more reversible mistakes than any other.
Dryer Vent Cleaning: the Fourth Checklist Item Most Homeowners Skip
Filter, integrity, extraction, and one more item that belongs on any serious duct maintenance list but rarely makes it: dryer vent cleaning. Clogged dryer vents hold a real fire risk. NFPA data clearly links lint accumulation in dryer vents to thousands of residential fires every year, and this is a duct system many Edmond homeowners never touch.
Add an inspection to your routine at least once a year, and check sooner if any of these signs appear:
- Clothes take noticeably longer to dry than they used to.
- The dryer feels hot to the touch on the cycle’s end.
- The exterior vent flap doesn’t open fully or lints heavily.
- Lint accumulates around the dryer’s back panel.
- You’ve recently moved into a home where the previous owners’ maintenance history is unknown.
The same logic applies to dryer vent cleaning that applies to air ducts: the right equipment captures and contains the debris rather than redistributing it into the laundry room. Professional dryer vent cleaning uses rotary tools and HEPA extraction the same way the air duct side does, and the risk profile of skipping it is higher.
What Professional Equipment Should Actually Be Doing
The reason the maintenance checklist above separates visual checks from professional work is equipment. A shop vac or a leaf blower cannot dislodge debris adhered to duct walls, and it cannot contain the particulate it loosens. That’s not a knock on homeowners who try; it’s a technical reality about what different tools can and cannot do. When we quote a cleaning, the equipment stack is the reason a professional clean is different from an air-only pass.
What our professional equipment does on every job:
- Rotobrush rotary brush system mechanically dislodges built-up debris from duct walls rather than relying on air pressure alone. This is the step competitors skip; brush agitation is what actually removes material that has bound to the interior surface.
- Nikro HEPA extraction equipment captures dislodged debris at the source with HEPA-grade filtration, preventing particulate from recirculating into the living space during the clean.
- Abatement Technologies containment tools maintain negative pressure during the cleaning, the same protocol used in professional indoor air quality work. This is the equipment standard that separates a containment job from a “put a vacuum on the register and hope” job.
- Guardsman sealing and protection products support the integrity side of the checklist, addressing joints and access points the cleaning itself exposes.
- Aprilaire filtration equipment installation and service, so the filter track of your maintenance routine is properly sized for the system.
Those details are worth checking before you hire anyone in Edmond. Ask what brush system they use, what their extraction equipment is, and whether they maintain containment during the clean. A contractor who can’t answer clearly is a contractor whose process you can’t document. When homeowners ask us why we’re specific about brands, the answer is simple: equipment is a verifiable claim. Filter changes and warranties sound good but don’t mean much. A named brush platform and a named HEPA extractor do.
Common Mistakes to Avoid
- Replacing filters without ever inspecting returns. A clean filter in front of a disconnected return doesn’t clean anything. The filter’s rating is irrelevant if the return isn’t pulling air through it. Edmond homes with attic returns fail this way more often than any other category.
- Assuming a 3-5 year cleaning cycle applies after a renovation. Post-renovation particulate settles fast and coats every surface. Reset the clock the day the drywall dust clears, not three years later.
- Upgrading to a MERV-13 filter on a system that wasn’t designed for it. Higher filtration restricts airflow, and central Oklahoma systems are often undersized for the upgrade. Confirm the filter rating against the system specs before you switch.
- Missing the dryer vent entirely. Many Edmond homeowners maintain the HVAC ducts carefully and never touch the dryer vent. The fire risk there is the most consequential gap on the entire checklist.
- Skipping pollen-season filter checks. Central Oklahoma’s cedar and elm load is heavy enough to double filter loading during peak weeks. The label interval can’t account for local conditions.
- Not documenting anything between cleans. Without photos and dates, a technician arrives to a system that looks the same as every other system. With a year of documentation, they know exactly where to spend attention and where to verify.
- Calling the cheapest quote you can find. A low bid plus air-only cleaning is not a discounted version of the professional job. It’s a different job that costs less because it does less, and it leaves debris that a mechanical cleaning would have removed.
See the difference
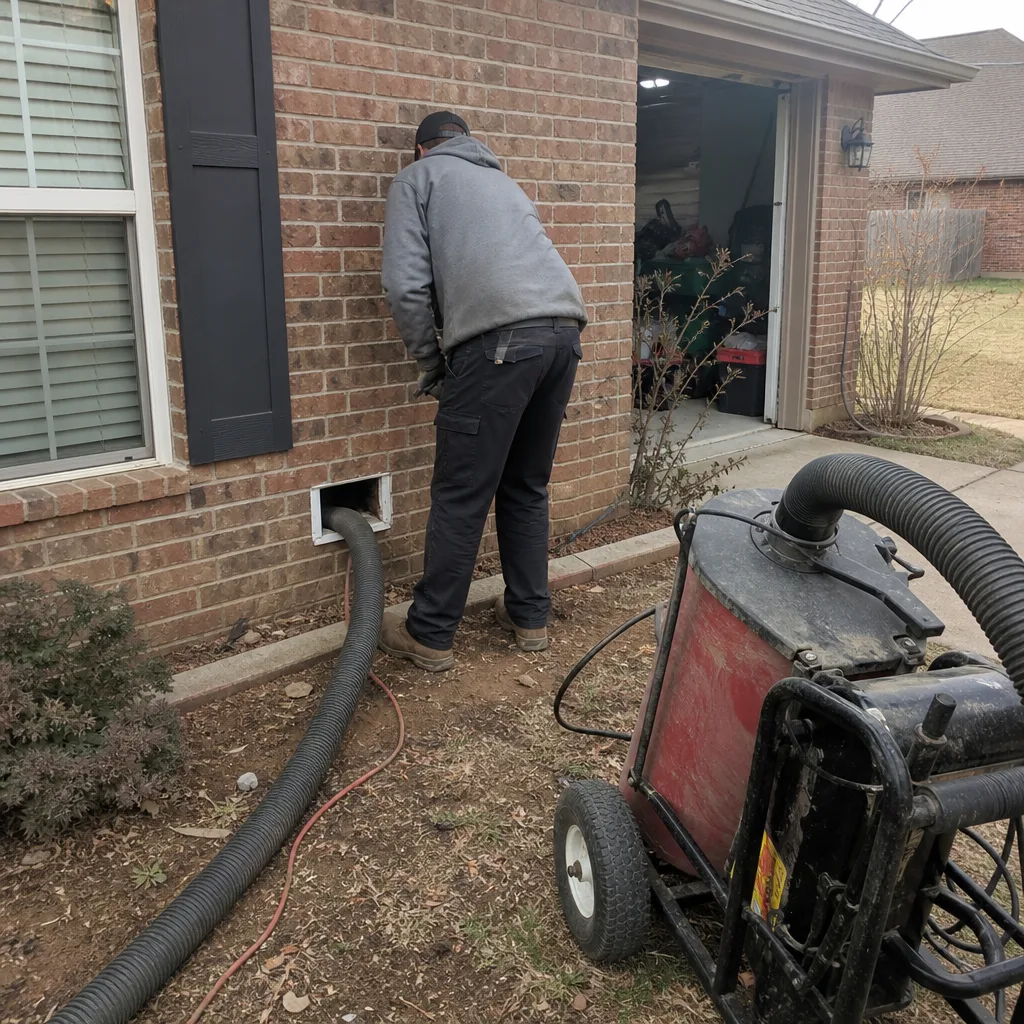 Before
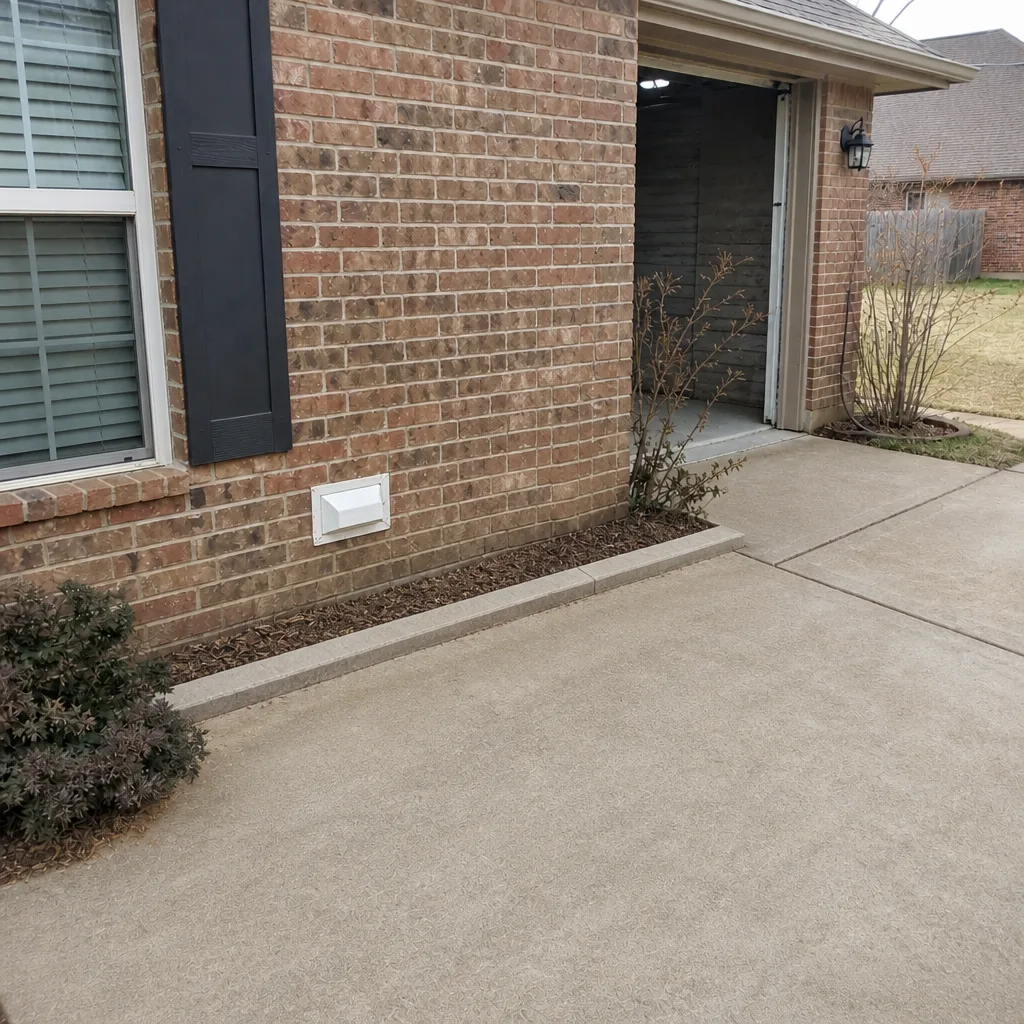 After
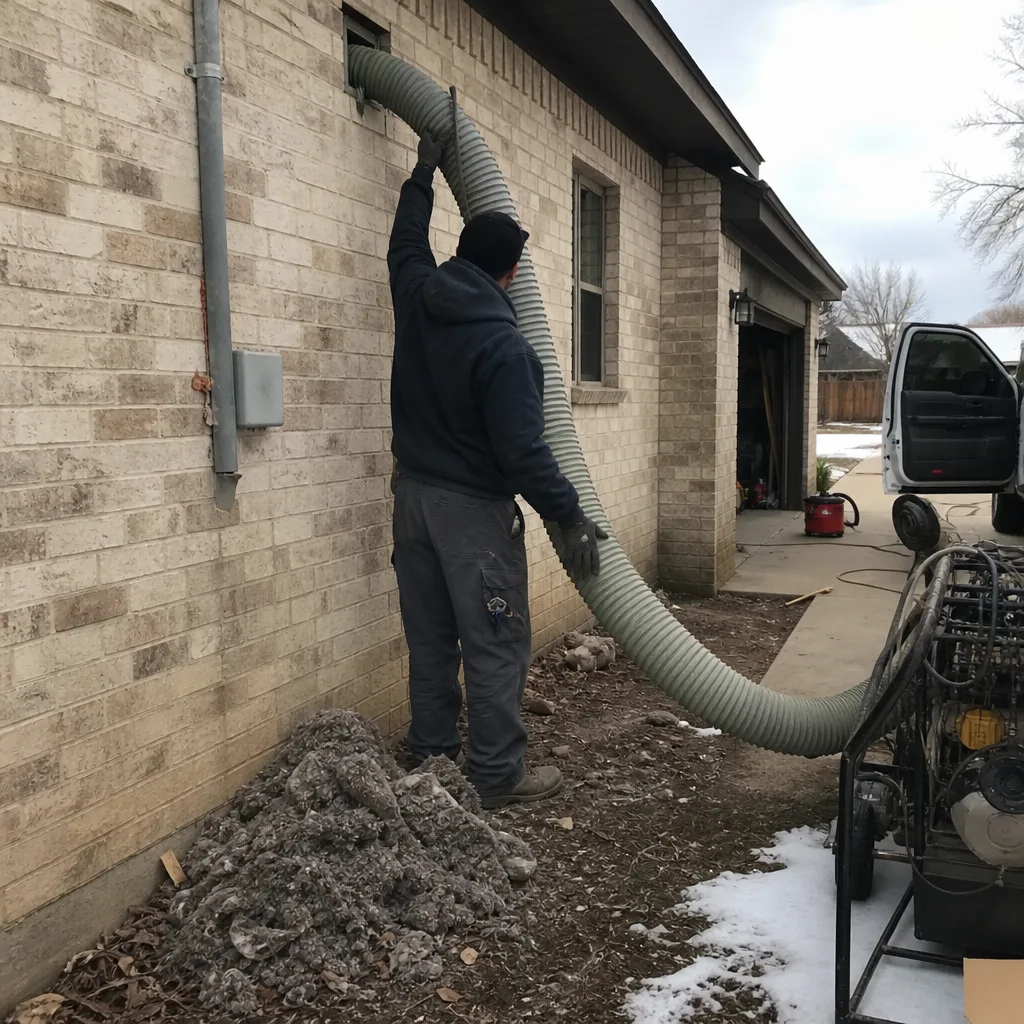 Before
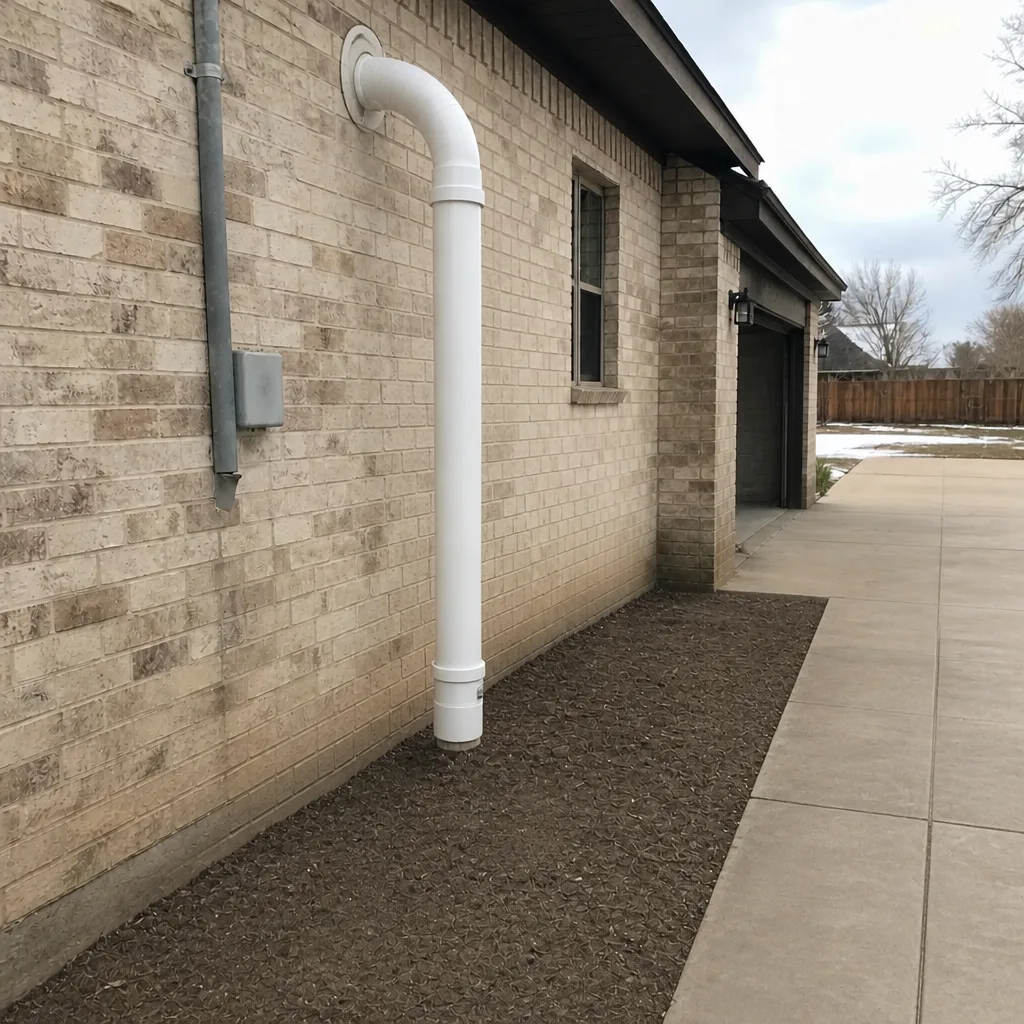 After
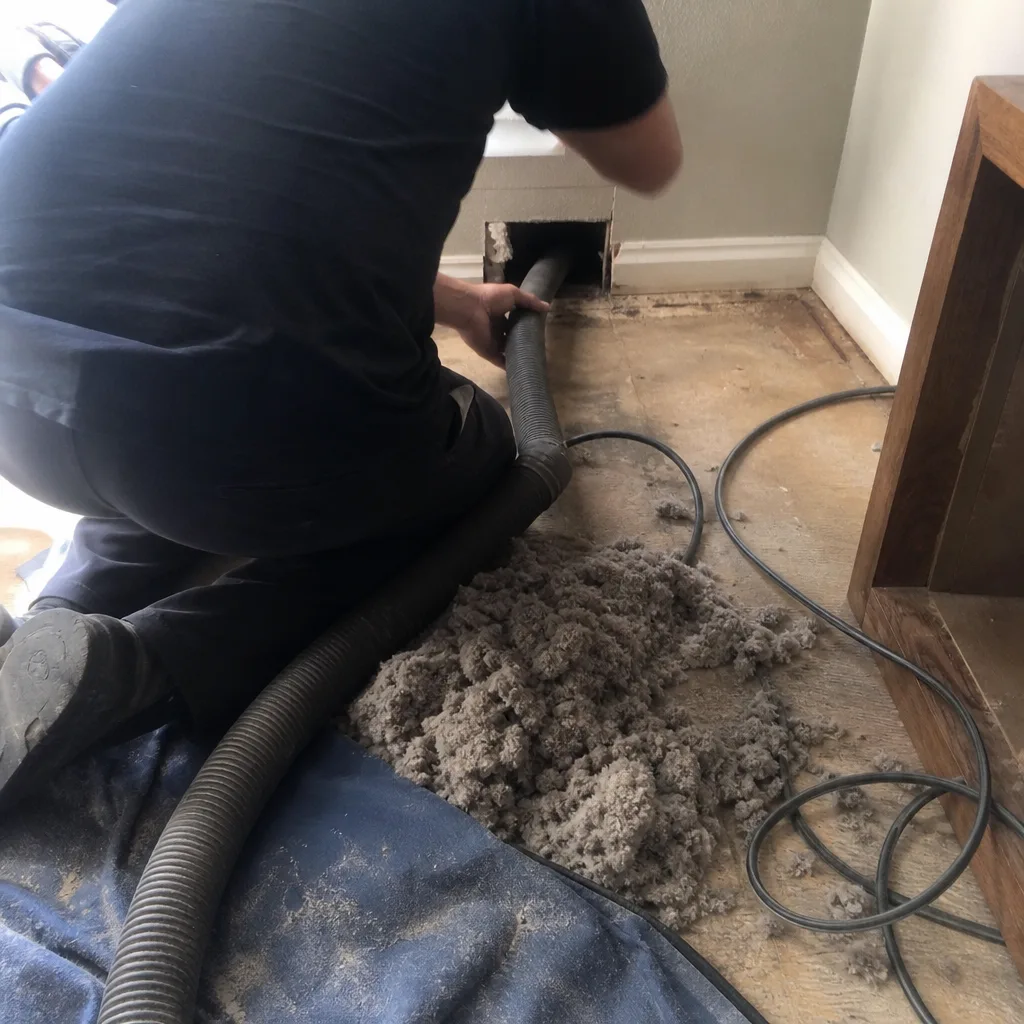 Before
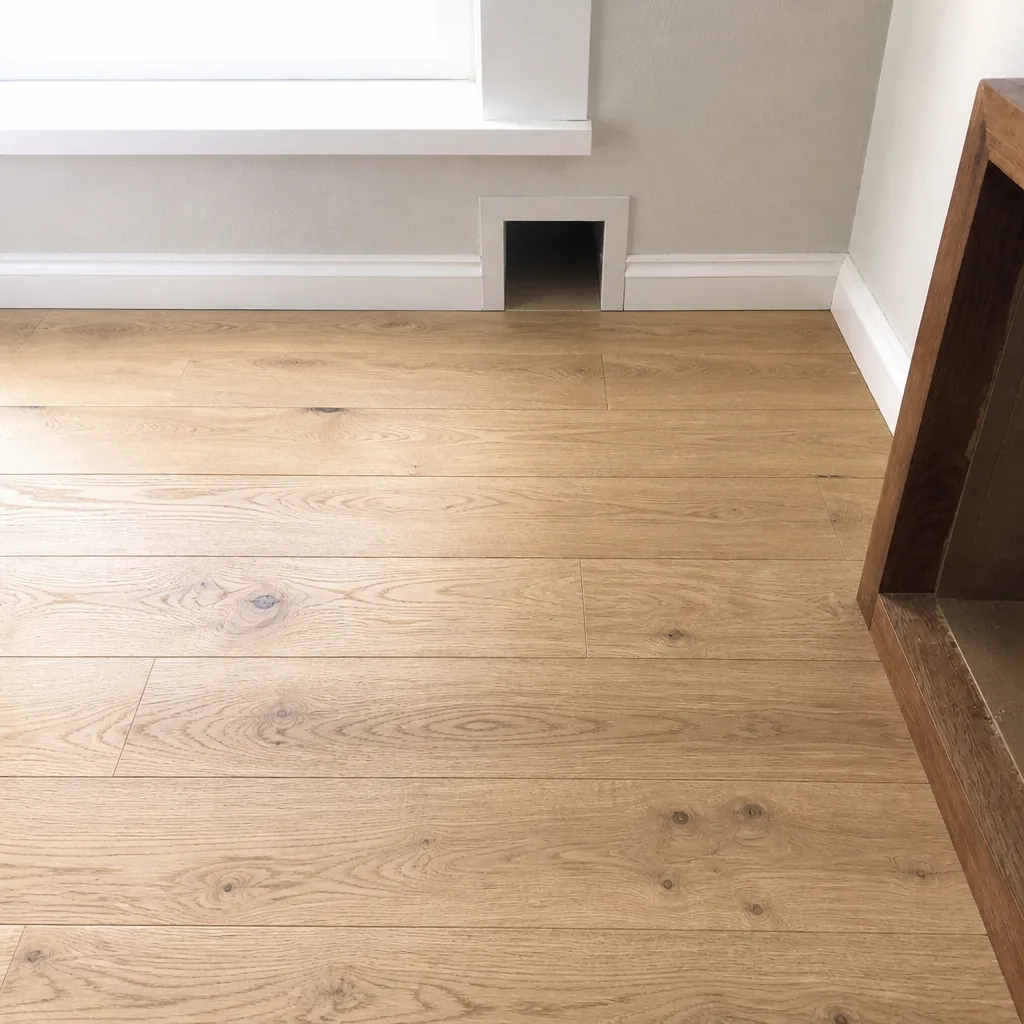 After
When to Call a Professional
Some triggers on this checklist are things to photograph and note. Others are things to hand to a technician. Call when any of these are true:
- Visible debris, insulation, or dust buildup inside any return chase.
- Disconnected, crushed, or separated duct runs anywhere you can see them in the attic, garage, or basement.
- Static pressure symptoms that have been building for weeks, especially uneven room comfort.
- Renovation dust that settled into the system, regardless of when you last had a cleaning.
- A significant storm event that disturbed attic ductwork or insulation.
- Any dryer that takes longer to dry clothes than it used to, or any dryer vent you’ve never inspected.
Duct Cleaning Edmond offers free estimates in Edmond. Call (844) 461-1541 and we’ll walk through your documentation, inspect the accessible system, and quote a written estimate per system rather than per vent. We repair what we find, so the duct integrity items on this checklist don’t have to wait for a separate contractor.
Frequently Asked Questions
For most Edmond homes, every 3-5 years is a reasonable rhythm, but the interval should be driven by triggers rather than a fixed calendar. Renovation, storm damage, visible debris at a register, or a newly purchased home with unknown maintenance history should each reset the clock sooner. A system with documented visual checks and consistent filters can sometimes extend the cycle safely; a system with no documentation often needs a cleaning sooner than the owner expects.
Both matter, and they solve different problems. Filters capture particulate as it passes through the return, while professional cleaning removes what has already settled or adhered inside the ducts. A clean filter cannot compensate for a duct system loaded with debris. A cleaned duct system will also load filter media sooner than a dirty one because more air is actually moving through the system as designed. Call (844) 461-1541 to discuss a written estimate if you’re unsure which one your system needs first.
A dark halo of dust at the grille edges usually indicates air bypassing the filter through gaps around the register frame. Dust concentrated on one side of the return chase often points to a leak pulling attic or wall cavity air. Brownish staining near the ceiling in humid months can indicate condensation on a cold duct surface. Photograph the pattern, note the date, and compare to the same register at your next check.
Ask for before-and-after photos of your own ducts, not stock photos. A technician with professional equipment and a real process can show you the interior of the runs before and after the clean. Our technicians use Rotobrush mechanical agitation alongside Nikro HEPA extraction and Abatement Technologies containment, and we document the process so you can verify it. Call (844) 461-1541 for a written estimate and to see what before-and-after documentation looks like.
Yes, if the renovation generated dust, which most drywall, wood, and insulation work does. Drywall dust and construction particles settle into every accessible run and coat filters and coils. Have the system professionally cleaned once work concludes, then replace the filter again 30 days later to capture the residual particulate that keeps shaking loose from surfaces. If any duct runs were exposed during the renovation, have them inspected for damage before they’re closed back up.
A low quote usually reflects a smaller scope: air-only cleaning without mechanical agitation or HEPA containment, and often without the technician spending time on duct integrity or documentation. A proper professional clean involves brush agitation, HEPA extraction, and containment-grade negative pressure, and it often requires identifying and repairing compromised joints. Those are different jobs with different costs. Our pricing is one flat rate per system set by written estimate before any work begins, and estimates are free. Call (844) 461-1541.
The Bottom Line
A maintenance checklist is only useful if it matches how a duct system actually degrades. Three tracks, three intervals: filters every 1-3 months depending on rating and household conditions, integrity checks twice a year and after renovation, professional extraction every 3-5 years or sooner when a trigger applies. Add dryer vent inspection once a year and don’t skip it. Document what you observe between cleanings so a technician can assess condition instead of starting from scratch. Reset the clock for post-storm debris, spring cedar and elm pollen loading, or post-renovation particulate. Above all, verify the equipment stack when you hire anyone; a named rotary brush system and named HEPA extraction tell you more about the job than a coupon does.
Call (844) 461-1541 for a free estimate on air duct cleaning, dryer vent cleaning, or air duct repair in Edmond. We answer 24/7. Fast dispatch from 7am to 7pm, Sunday through Friday, closed Saturday. Written estimate per system before any work starts, before-and-after photos of your own ducts, and licensed and insured technicians with up to 13 years of experience.
Written by the team at Duct Cleaning Edmond.